
프로그래밍 공부방
[Next.js] vercel에서 aws s3 사용 방법 본문
🐥vercel에서 aws s3 사용 방법
오늘은 vercel에서 aws s3 사용하는 방법에 대해서 알아보겠습니다.
기존에 s3을 사용하기 위한 코드는 vercel 배포 후에 작동이 되지 않는 문제가 생겼었습니다 ㅠㅠ
따라서 vercel에서 사용할 수 있도록 코드를 새롭게 짰습니다.
1. upload-url.ts
일단 upload-url 파일을 먼저 보겠습니다.
이 파일에서는 s3에 이미지를 업로드할 수 있는 url을 생성할 수 있습니다.
// upload-url.ts

import S3 from "aws-sdk/clients/s3";
import { NextApiRequest, NextApiResponse } from "next";
import getExtension from "@libs/client/getExtension"; // 파일 확장자 추출

export default async function handler(
  req: NextApiRequest,
  res: NextApiResponse
) {
  const s3 = new S3({ // aws s3 정보 입력
    secretAccessKey: process.env.AWS_SECRET_ACCESS_KEY,
    accessKeyId: process.env.AWS_ACCESS_KEY_ID,
    region: process.env.AWS_REGION,
  });

  const { file, fileType, userId, type } = req.query;
  const { fileExtenstion } = getExtension(file as string); // 이미지 파일 확장자
  const nFilename = (type === "profile" ? "profile/" : "product/") + Date.now() + "_" + userId + fileExtenstion;

  const image = await s3.createPresignedPost({
    Bucket: process.env.BUCKET_NAME,
    Fields: {
      key: nFilename,
      "Content-Type": fileType,
    },
    Expires: 60, // seconds
  });

  res.json({
    ok: true,
    image,
    nFilename,
  });
}
본인의 AWS S3 키 , 지역 정보 등을 환경변수 처리해서 넣어준 후 new S3를 만들어줍니다.
그리고 createPresignedPost를 이용해서 이미지를 저장할 수 있는 url을 생성할 수 있습니다.
createPresignedPost에 key값이 있는 것을 볼 수 있는데 이 key값이 파일의 이름이 됩니다.
image를 console로 찍어보면 아래와 같이 url이 있는 것을 확인하실 수 있습니다.

2. upload.tsx
실제로 s3에 이미지를 업로드하는 작업을 한 파일입니다.
// upload.tsx

import { S3 } from "aws-sdk";
import useUser from "@libs/client/useUser";
import useSWR from "swr";

interface UploadProduct {
  ok: boolean;
  image: S3.PresignedPost;
  nFilename: string;
}

interface UploadProductMutation {
  ok: boolean;
  product: Product;
}

const Upload: NextPage = () => {
  const router = useRouter();
  const { user } = useUser();
  const { register, handleSubmit, watch } = useForm<UploadProductForm>();
  const productImage = watch("image");
  const { data: uploadUrl } = useSWR<UploadProduct>(
    productImage && productImage[0] && user
      ? `/api/upload-url?file=${productImage[0].name}&fileType=${productImage[0].type}&userId=${user?.id}&type=product`
      : null
  );
  const [uploadProduct, { loading, data }] = useMutation<UploadProductMutation>(
    "/api/products",
    "POST"
  );

  const onValid = async ({ name, price, description }: UploadProductForm) => {
    if (loading || !uploadUrl) return;
    const {
      nFilename,
      image: { url, fields },
    } = uploadUrl;
    const file = productImage[0];
    const fd = new FormData();
    Object.entries({ ...fields, file }).forEach(([key, value]) => {
      fd.append(key, value as string);
    });
    const uploadImage = await fetch(url, { method: "POST", body: fd });
    uploadProduct({
      file: uploadImage && uploadImage.ok ? nFilename : null,
      name,
      price,
      description,
    });
  };
코드가 길어서 나눠서 알아보겠습니다.
const { data: uploadUrl } = useSWR<UploadProduct>(
    productImage && productImage[0] && user
    ? `/api/upload-url?file=${productImage[0].name}&fileType=${productImage[0].type}&userId=${user?.id}&type=product`
    : null
);
위에서 만든 upload-url의 결과값을 받아오는 부분입니다.
저는 이미지를 저장할 때 기존 파일 이름을 기준으로 제가 새롭게 만든 이름으로 저장하고 싶었기 때문에 query를 저렇게 설정해주었습니다.
const onValid = async ({ name, price, description }: UploadProductForm) => {
    if (loading || !uploadUrl) return;
    const {
      nFilename,
      image: { url, fields },
    } = uploadUrl;
    const file = productImage[0];
    const fd = new FormData();
    Object.entries({ ...fields, file }).forEach(([key, value]) => {
      fd.append(key, value as string);
    });
    const uploadImage = await fetch(url, { method: "POST", body: fd });
    uploadProduct({
      file: uploadImage && uploadImage.ok ? nFilename : null,
      name,
      price,
      description,
    });
};
우선 upload-url에서의 결과값을 가져와줍니다.
file은 제가 <input type="file">로 업로드해서 저장할 이미지 파일입니다.
새로운 formdata를 생성해준 후 upload-url에서 가져온 fields 정보와 file정보를 모두 추가해줍니다.
그리고 upload-url을 통해 생성한 url을 이용해서 이미지를 업로드 해줍니다.
이 작업까지 마쳤을 경우 aws s3 대시보드로 가보면 이미지가 업로드된 것을 확인할 수 있습니다.
이제 그 아래 uploadProduct({})는 제 db에 업로드된 이미지의 url을 넣어주기 위해 Post작업을 하는 함수입니다!
3. index.tsx
db에 s3 이미지 주소를 넣어주는 작업을 한 파일입니다.
// index.ts --> api 폴더

async function handler(
  req: NextApiRequest,
  res: NextApiResponse<ResponseType>
) {
  ...
  if (req.method === "POST") {
    const {
      session: { user },
      body: { file, name, price, description },
    } = req;
    const location = `https://${process.env.BUCKET_NAME}.s3.${process.env.AWS_REGION}.amazonaws.com/${file}`;
    const product = await client.product.create({
	...
  }
}
export default withApiSession(
  withHandler({
    methods: ["GET", "POST"],
    handler,
  })
);
s3 이미지 주소는 location에 해당합니다.
s3에 해당하는 이미지 주소를 만들어서 db에 넣어주는 작업을 했습니다.
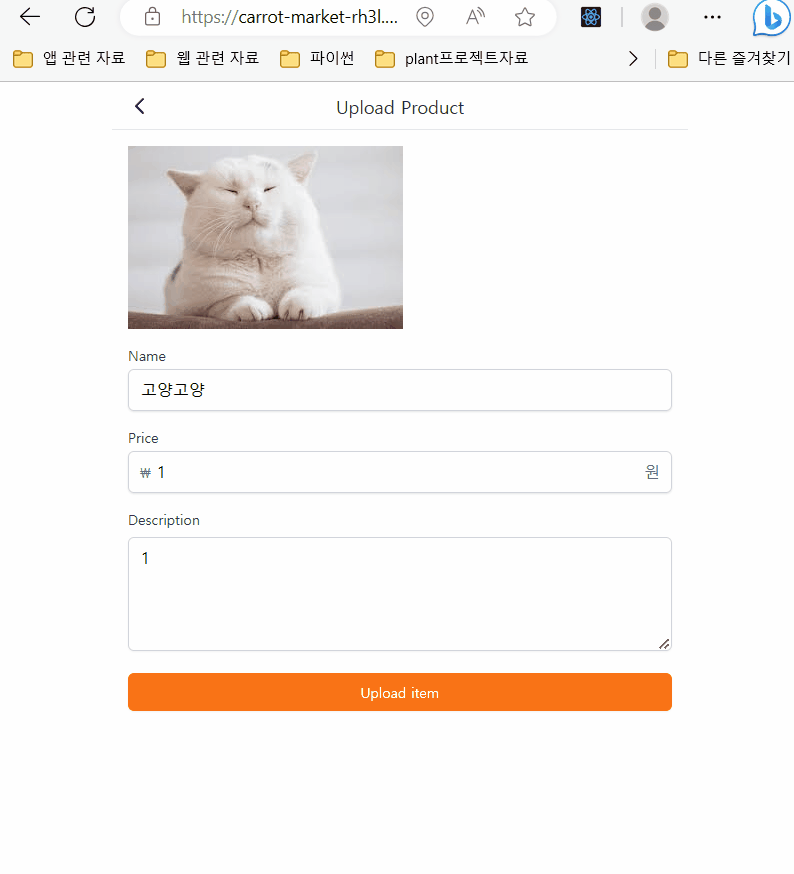
✨결과물
🐥💬
👉출처: https://vercel.com/guides/how-can-i-use-aws-s3-with-vercel👈
How to Use AWS S3 Buckets with Vercel
Learn how to use Amazon Web Services (AWS) S3 buckets together with Vercel to upload, store, and retrieve objects.
vercel.com
'프론트엔드 > Next.js' 카테고리의 다른 글
| [Next.js] 환경변수 오류 (0) | 2023.06.22 |
|---|---|
| [EmailJS] Next.js에서 이메일 보내는 기능 구현 (0) | 2023.06.22 |
| [Next.js] socket.io를 vercel에 배포하면서 생긴 문제점 해결 과정 (0) | 2023.06.20 |
| [Next.js] 리뷰 구현 중 생긴 문제점과 해결방법 (0) | 2023.06.14 |
| [Next.js] router.push와 router.replace 차이점 (0) | 2023.05.02 |


